2.2.2 Thermistor
Introduction
In this beginner-friendly project, you’ll learn how to measure temperature using a thermistor - a special resistor that changes its resistance based on temperature. Think of it like a temperature-sensitive switch that helps you build projects like heat alarms, temperature monitors, or automatic cooling systems!
Components

What is a Thermistor?
A thermistor is a temperature sensor that works like a variable resistor controlled by heat. Just like a photoresistor changes resistance with light, a thermistor changes resistance with temperature.
Real-world analogy: Think of it like a mood ring that changes color with temperature, but instead of changing color, our thermistor changes its electrical resistance!
Two Types of Thermistors:

NTC (Negative Temperature Coefficient): - As temperature goes UP, resistance goes DOWN - This is the type we’re using in our project
PTC (Positive Temperature Coefficient): - As temperature goes UP, resistance goes UP - Less common in basic projects
How does our NTC thermistor work?
Simple explanation: - Hot environment → Lower resistance → Higher voltage reading - Cold environment → Higher resistance → Lower voltage reading
The measurement process: 1. Temperature changes → Thermistor resistance changes 2. Resistance changes → Voltage in the circuit changes 3. ADC reads voltage → Converts to digital number 4. Your program calculates → Converts to actual temperature (°C or °F)
Our Setup: - Thermistor: 10kΩ resistance at room temperature (25°C) - Pull-up resistor: 10kΩ (creates a voltage divider circuit) - Result: Voltage changes we can measure and convert to temperature
The Math Behind It (Don’t Worry, We’ll Handle This!):
For those curious about the formula:
RT = RN × e^(B×(1/TK - 1/TN))
What each part means: - RT: Current resistance at temperature TK - RN: Known resistance (10kΩ at 25°C) - TK: Current temperature in Kelvin (°C + 273.15) - TN: Reference temperature in Kelvin (25°C + 273.15 = 298.15K) - B: Material constant (3950 for our thermistor) - e: Mathematical constant (≈2.718)
For beginners: Don’t worry about memorizing this formula! Your code will handle all the calculations. Just understand that there’s a predictable relationship between temperature and resistance that we can use to measure temperature accurately.
Key takeaway: The thermistor gives us a way to “feel” the temperature electronically and turn that feeling into numbers your Raspberry Pi can work with!
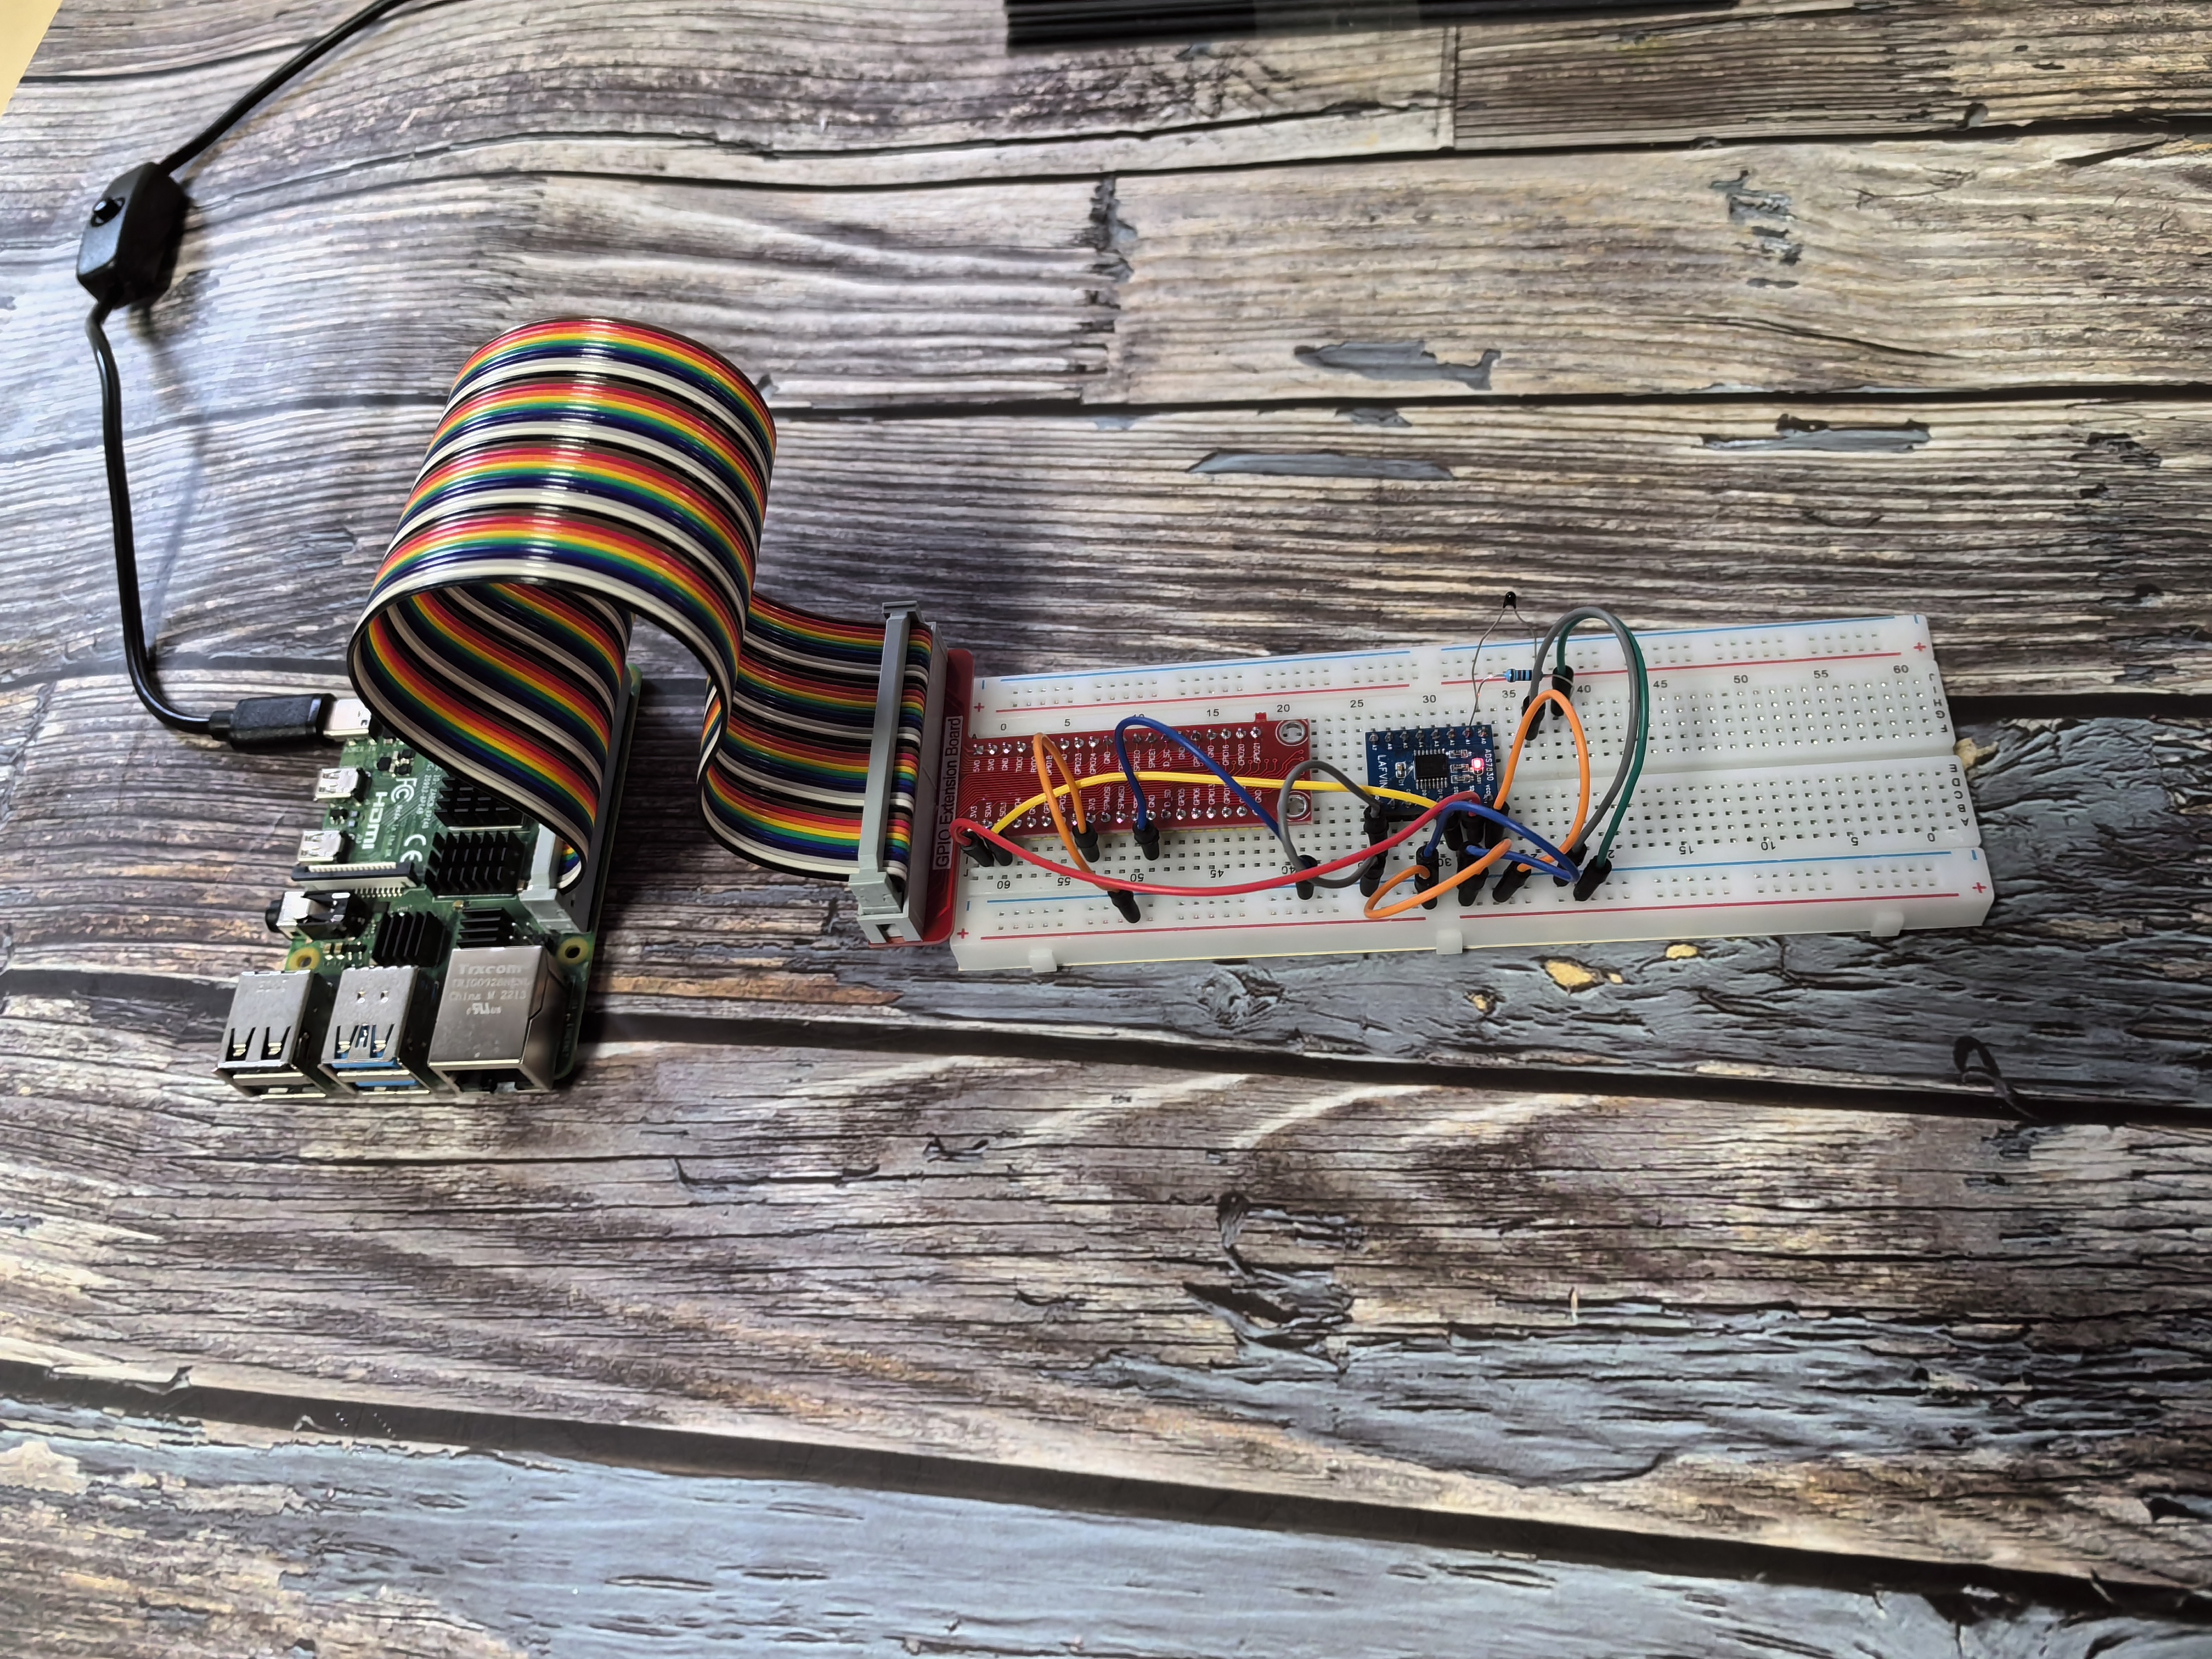
Connect

Code
For C Language User
Go to the code folder compile and run.
cd ~/Basic-Starter-Kit-for-Raspberry-Pi/c/2.2.2/
g++ 2.2.2_Thermistor.cpp -lwiringPi -lADCDevice
sudo ./a.out
With the code run, the thermistor detects ambient temperature which will be printed on the screen once it finishes the program calculation.
This is the complete code
#include <wiringPi.h>
#include <stdio.h>
#include <math.h>
#include <ADCDevice.hpp>

ADCDevice *adc;  // Define an ADC Device class object

int main(void){
   adc = new ADCDevice();
   printf("Program is starting ... \n");

   if(adc->detectI2C(0x48)){// Detect the ads7830
      delete adc;               // Free previously pointed memory
      adc = new ADS7830();      // If detected, create an instance of ADS7830.
   }
   else{
      printf("No correct I2C address found, \n"
      "Please use command 'i2cdetect -y 1' to check the I2C address! \n"
      "Program Exit. \n");
      return -1;
   }
   printf("Program is starting ... \n");
   while(1){
      int adcValue = adc->analogRead(0);  //read analog value A0 pin
      float voltage = (float)adcValue / 255.0 * 3.3;    // calculate voltage
      float Rt = 10 * voltage / (3.3 - voltage);        //calculate resistance value of thermistor
      float tempK = 1/(1/(273.15 + 25) + log(Rt/10)/3950.0); //calculate temperature (Kelvin)
      float tempC = tempK -273.15;        //calculate temperature (Celsius)
      printf("ADC value : %d  ,\tVoltage : %.2fV, \tTemperature : %.2fC\n",adcValue,voltage,tempC);
      delay(100);
   }
   return 0;
}
For Python Language User
Go to the code folder and run.
cd ~/Basic-Starter-Kit-for-Raspberry-Pi/python
python 2.2.2_Thermistor.py
This is the complete code
#!/usr/bin/env python3

import RPi.GPIO as GPIO
import time
import math
from ADCDevice import *

adc = ADCDevice() # Define an ADCDevice class object

def setup():
   global adc
   if(adc.detectI2C(0x48)): # Detect the ads7830
      adc = ADS7830()
   else:
      print("No correct I2C address found, \n"
      "Please use command 'i2cdetect -y 1' to check the I2C address! \n"
      "Program Exit. \n");
      exit(-1)

def loop():
   while True:
      value = adc.analogRead(0)        # read ADC value A0 pin
      voltage = value / 255.0 * 3.3        # calculate voltage
      Rt = 10 * voltage / (3.3 - voltage)    # calculate resistance value of thermistor
      tempK = 1/(1/(273.15 + 25) + math.log(Rt/10)/3950.0) # calculate temperature (Kelvin)
      tempC = tempK -273.15        # calculate temperature (Celsius)
      print ('ADC Value : %d, Voltage : %.2f, Temperature : %.2f'%(value,voltage,tempC))
      time.sleep(0.01)

def destroy():
   adc.close()
   GPIO.cleanup()

if __name__ == '__main__':  # Program entrance
   print ('Program is starting ... ')
   setup()
   try:
      loop()
   except KeyboardInterrupt: # Press ctrl-c to end the program.
      destroy()
Phenomenon